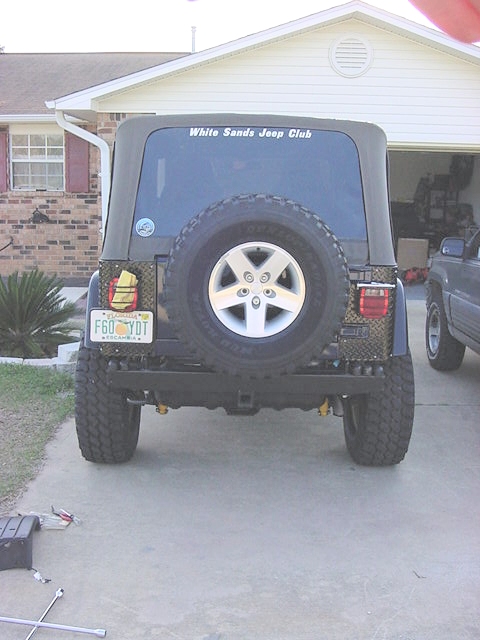
One of the issues with putting on larger tires is what
will you do to mount the spare tire up. Well I decided to take a chance
since I couldn't get a bumper before my Moab trip and go without. The
spare tire will mount to the stock tire carrier if you remove the third
brake light and the 5 rubber snubbers that are bolted to the tail gate
and the body. Now this isn't necessarily the correct way to support a
35" tire, but it worked for me so far. The tire is partially supported
by the bumper since I have a 1.25" body lift. I don't think you could
do this with anything smaller than a 1" body lift. The tire also
sits against the upper tailgate hinge. There isn't a lot of room for any
other snubbers to be mounted. I will work out some idea on how to get
some more support for the tire. I really don't want it moving around that
much. The biggest issues is that 3rd brake light. What do I do with it.
Well you could come up with some type of LED assembly or you could relocate
your 3rd brake light up and more towards the center of the tire. The latter
is what I chose to do. Nothing really elegant, but it works and is functional.
I figured I needed to go up 2" and probably all the way back against
the edge of the tailgate.
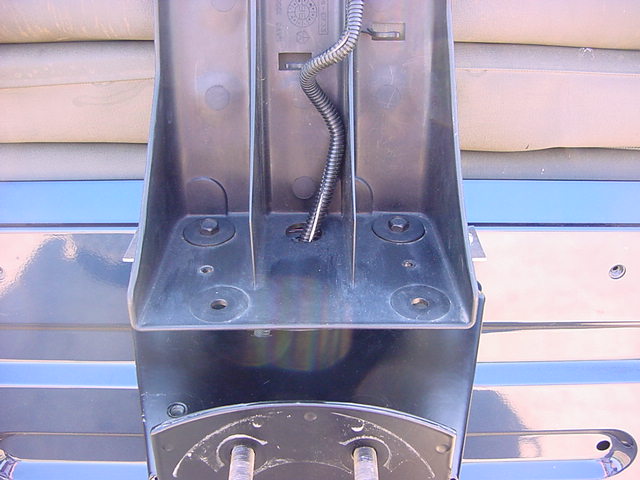
Removal
and Installation of 3rd brake light bracket:
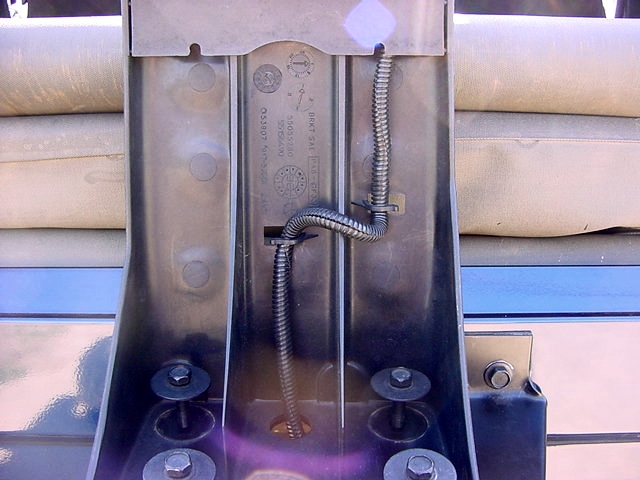
1. You will need to remove the brake light assembly. You can see
a pretty good shot of the factory spacers already installed on the
third brake light.
2. Open the tailgate and remove the plastic cover over the contacts with
a Phillips screwdriver. Make a note as to which colored wire
is on top. I don't think this really matters, but I wanted to
put it back the same way.
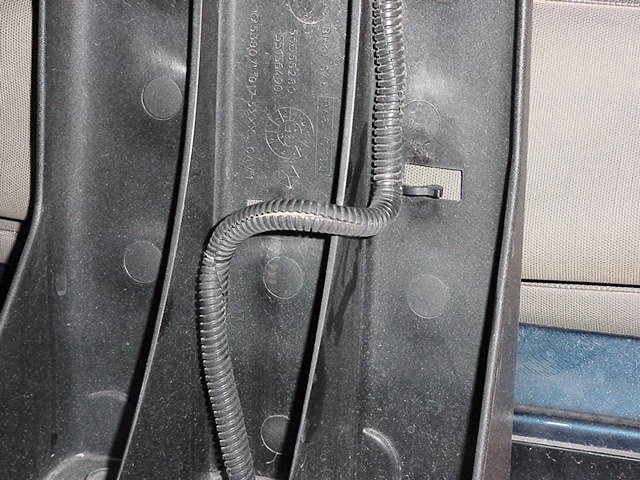
3. Now pull the contacts out of the clips that are on the wires.
Put these somewhere so that you don't lose them.
4. Pull the rubber grommet out from the body. I used a needle nose
plies to squeeze it together and pull it out from the outside.
5. Feed the wires through the tailgate.
6. Remove the wire from the two clips on the third brake light.
You will need to stretch this wire out latter, so I just did this
now.
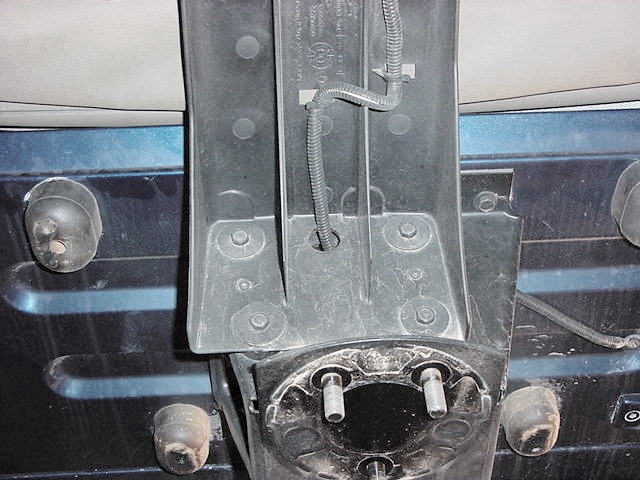
7.
Use a 13mm socket and extension to remove the bolts holding the third
brake light assembly to the stock tire carrier.
8. Feed the wires between the tailgate and the stock tire carrier and
set the third brake light aside.
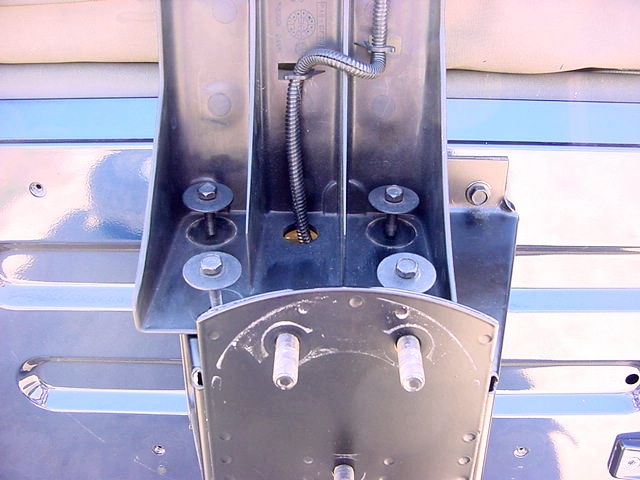
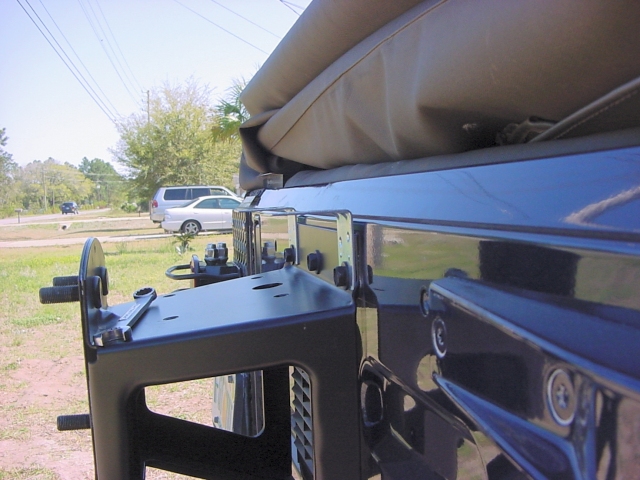
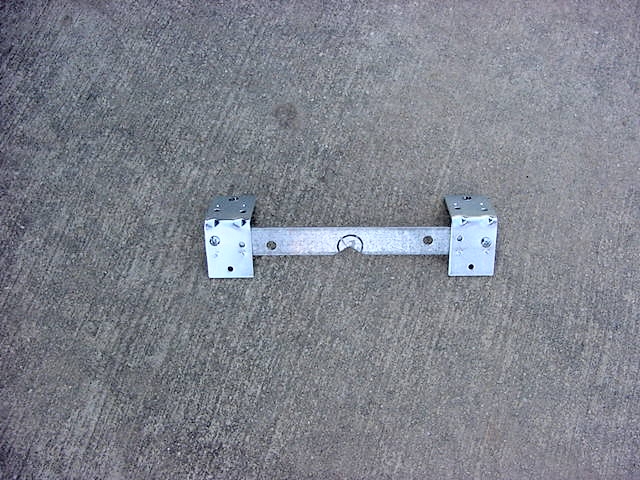
9.
Now I needed to fabricate my bracket. I started by drilling
a 5/16" hole in the lower hole of my 2" corner support brackets.
I removed the 2 outside upper tire carrier bolts with a 13mm socket
and installed the brackets.
10. Since the stock brake light has some ribs on the bottom, I decided
to cut a piece of 1" flat iron and mount it to the underside
of the 2 brackets. I simply drilled a 3/16" hole through
the outer to screw holes of the brackets and bolted it with (2)
#10-24x1/2" bolts with nylon lock nuts. Phillips screwdriver
and 3/8" Wrench.
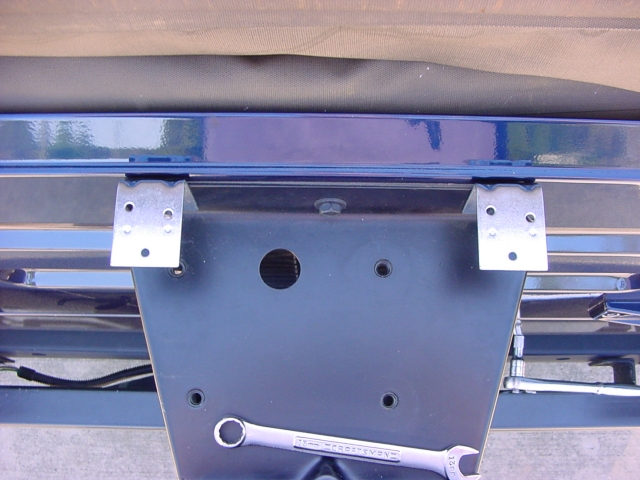
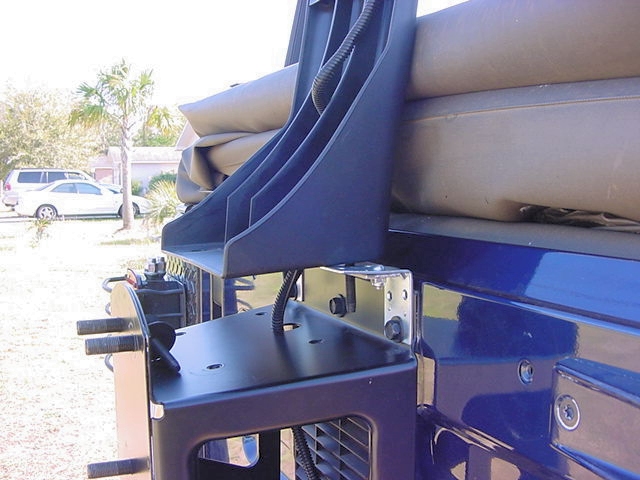
11.
I then rested the stock brake light on the bracket assembly and marked
the 2 bolt holes and the hole where the light cable goes through.
I didn't need a lot of clearance to feed the cable through, so I just
notched the bar at that location. I used a 5/16" drill
bit to drill the 2 holes for the factory brake light bolts.
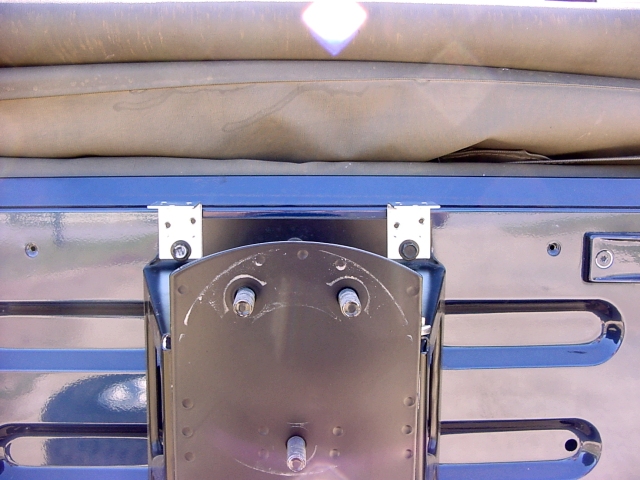
12.
Then it was a simple matter of bolting the brake light up utilizing
the 2 lock washers and nuts on the bottom of the factory screws.
I rerouted the wires down through the original opening and hooked
them up.
�
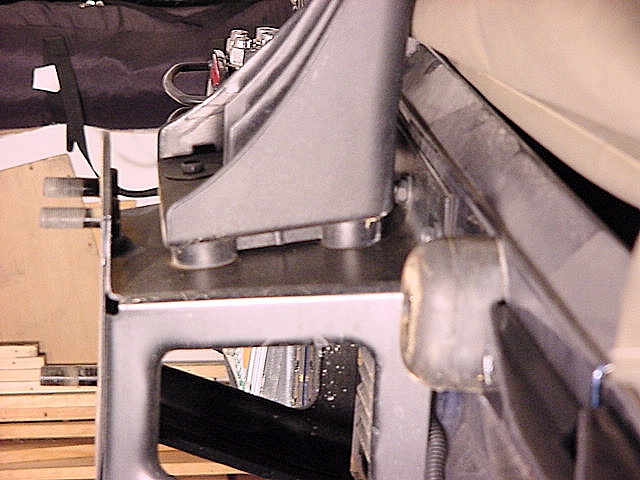
Fitting
up the spare tire.
After
I removed the third brake light I decided to play around with trying
to get the spare tire to fit. I tried it a couple different
ways and finally decided to remove the 5 snubbers and try again.
The snubbers require a T-30 Torx screwdriver to get to the torx bolts
that are inside.
The
bumper went onto the stock carrier fine. It is supported by
the rear bumper a little and rests against the upper tailgate latch.
I still need to see how this rides, I want to try and get a few more
snubbers into steady this tire.
Oh
if your concerned about the weight. The stock MT/R with Moab
weighs in at 76lbs. The Dunlop that I bought weighs in at 88lbs
with the Moab. Not a big difference. The tailgate still
operates smoothly. I will be watching this very carefully.